Sides & Parts

Rainbow Slaw

Oh my yum. In honor of Saint Patrick's Day, this coleslaw is beautiful and rainbowy. Because food should be beautiful, right? And it should feel good in our bodies. So this rainbow slaw is lovely, nourishing *and* delicious. Who wouldn't want this on their plate (and in their bellies)??

IMG_9011 (1).jpg

INGREDIENTS

For Slaw

2 cups shredded red cabbage (1/4 small head)

1 1/2 cups rough-chopped snow peas (1/3 pound or roughly 30 snow pea pods)

2 cups golden delicious apples, spiralized (1 medium apple)

2 cups carrots, spiralized (2 whole medium carrots)

3 cups beets, spiralized (1 medium beet)

1/2 to 1 cup chopped walnuts to top

For Dressing

3/4 cup organic mayo

1 tablespoon raw honey

2 tablespoons apple cider vinegar

1/4 teaspoon black pepper

1/4 teaspoon salt

horseradish to taste (optional)

INSTRUCTIONS

  1. Prepare (chop and spiralize) produce
  2. Combine dressing ingredients
  3. Toss your beautiful veggies/fruit in the dressing and top with chopped walnuts to serve
IMG_8959 (1).jpg

B&B Bread

Well, Gluten. Apparently when I broke up with you, and we divvied up our things, you thought you could take the bread. All the delicious bread. Well today I take it back, because this stuff rocks the socks.

Of all the recipes I've worked on, this one has been the most tweaked and adjusted. Loaf after loaf; too dense, too moist, too spongy, wrong flavor... until this! This fabulously easy recipe that only requires you to blend and bake. And then munch.

I really wanted something so tasty I'd be happy to eat it on it's own, but also flavor-neutral enough to use for other things like sweet loaves and bread pudding. And this checks all the boxes. Welcome back toast, sandwiches, bread pudding and french toast! You've been missed.

* B&B = Blend and Bake = Super Easy

Served here with raw crystalized honey (...not applesauce)

Served here with raw crystalized honey (...not applesauce)

* This makes a small loaf, with slices about 2" x 4". For us, this means a couple little sandwiches instead of one big one. No biggie.

YIELD 16 slices

INGREDIENTS

Wet:

        3/4 cup raw cashews (soaked is best, but unsoaked will work too - read note on blending below)

        3 eggs

        2 tablespoons apple cider vinegar

        1 teaspoon honey

Dry:

        1 cup almond flour

        1 tablespoon flax meal

        3 tablespoons tapioca flour

        3/4 teaspoon baking soda   

        1/2 teaspoon salt

        Coconut oil to coat loaf pan

INSTRUCTIONS

    1.    Put wet ingredients (including cashews) in a high powered blender or food processor and process until thoroughly combined

    2.    Add dry ingredients and process until smooth-ish (see blending note below)

    3.    Pour batter into oiled loaf pan and bake at 325F for 40 minutes

    4.    Allow to cool before removing loaf from pan and slicing

NOTES

Blending: There may still be a "grainy" texture when you're done blending, but that's okay. You just want the texture to be consistent, without big lumps. I personally don't mind if there are little bits of cashew in my slices of bread, but if that bugs you, be sure to soak the cashews in filtered water with a tablespoon of salt for several hours prior to baking, then rinse and pat dry. That will smooth the texture even further (and decrease phytic acid content).

B&B Cashew Flatbread

I can't tell you how much I love this recipe. It's just scrumptious. Chewy, crunchy, bready scrumptiousness. I love it as an alternative to serving bread with soup, chili, salad, or grabbing and munching on the go. And it freezes well, if you decide to make several batches at a time. Our favorite is this basic recipe, but there's so much room for play here! Herbs, garlic, parmesan... think of it as a delicious blank canvas.

B&B = blend and bake = super easy

YIELD 4 servings

INGREDIENTS

        1 cup raw cashews

        2 tablespoons tapioca starch

        1 egg, beaten

        3 tablespoons full fat canned coconut milk

        1 tablespoon ghee, butter or coconut oil (I love ghee with this one!)

        1/2 teaspoon salt

INSTRUCTIONS

    1.    Blend all ingredients until smooth (should be sticky and hummus-like) - I use my immersion blender in a glass jar

    2.    On a silicone baking mat or wax paper, spread into 2 disks, about 6" diameter each

    3.    Bake at 350F for about 15 min (more time = crispier, less time = chewier)

    4.    I slice each round into 4 pieces and serve 2 pieces per person

NOTES

You can control how crunchy or chewy it gets, depending on how thick it is when you bake it. This means it can also make great crackers! Just spread into 4 very thin disks and bake 10-12 minutes, or until it's as crunchy as you prefer (probably not more than 18 minutes)

If you choose to soak the cashews first, do so in filtered water with 1/4 tablespoon of salt, then rinse and pat dry before using.

Cashew Cream

I’m so smitten with this recipe. It takes minutes to whip up, and it’s such a lovely substitute for dairy in SO many recipes. It’s not meant to taste like cheese or butter, but to lend rich, dairy-free creaminess to a dish that calls for it. And it does it well!

* This is the basic recipe and can easily be embellished any way you want. So use as-is, or herb'n'spice it up however you like!

YIELD approx 2 1/2 cups

INGREDIENTS

        1 can full-fat canned coconut milk (1 2/3 cups)

        1 2/3 cups raw, whole cashews

        2 teaspoons lemon juice

        1 1/2 teaspoon minced garlic

        3/4 teaspoon black pepper

        1 1/2 - 2 teaspoons salt (to taste)

INSTRUCTIONS

    1.    Combine ingredients in a high powered blender or small food processor (I actually use my immersion blender in a large mason jar) and process until smooth. This will likely take several minutes, depending on the strength of your machine. The smoother, the better, so don't be shy!

    2.    If you need to drizzle this over a dish, just add a little water until it’s the consistency you like.

NOTES

If you soak the cashews overnight, do so in filtered water with 1/4 tablespoon of salt, and then rinse and pat dry. The consistency of your sauce will be smoother and a tad thinner, and you'll decrease the phytic acid content. However, I have no trouble using un-soaked cashews in a pinch - just makes for a slightly courser texture. Yummy, all the same!

Six-Ingredient Wraps

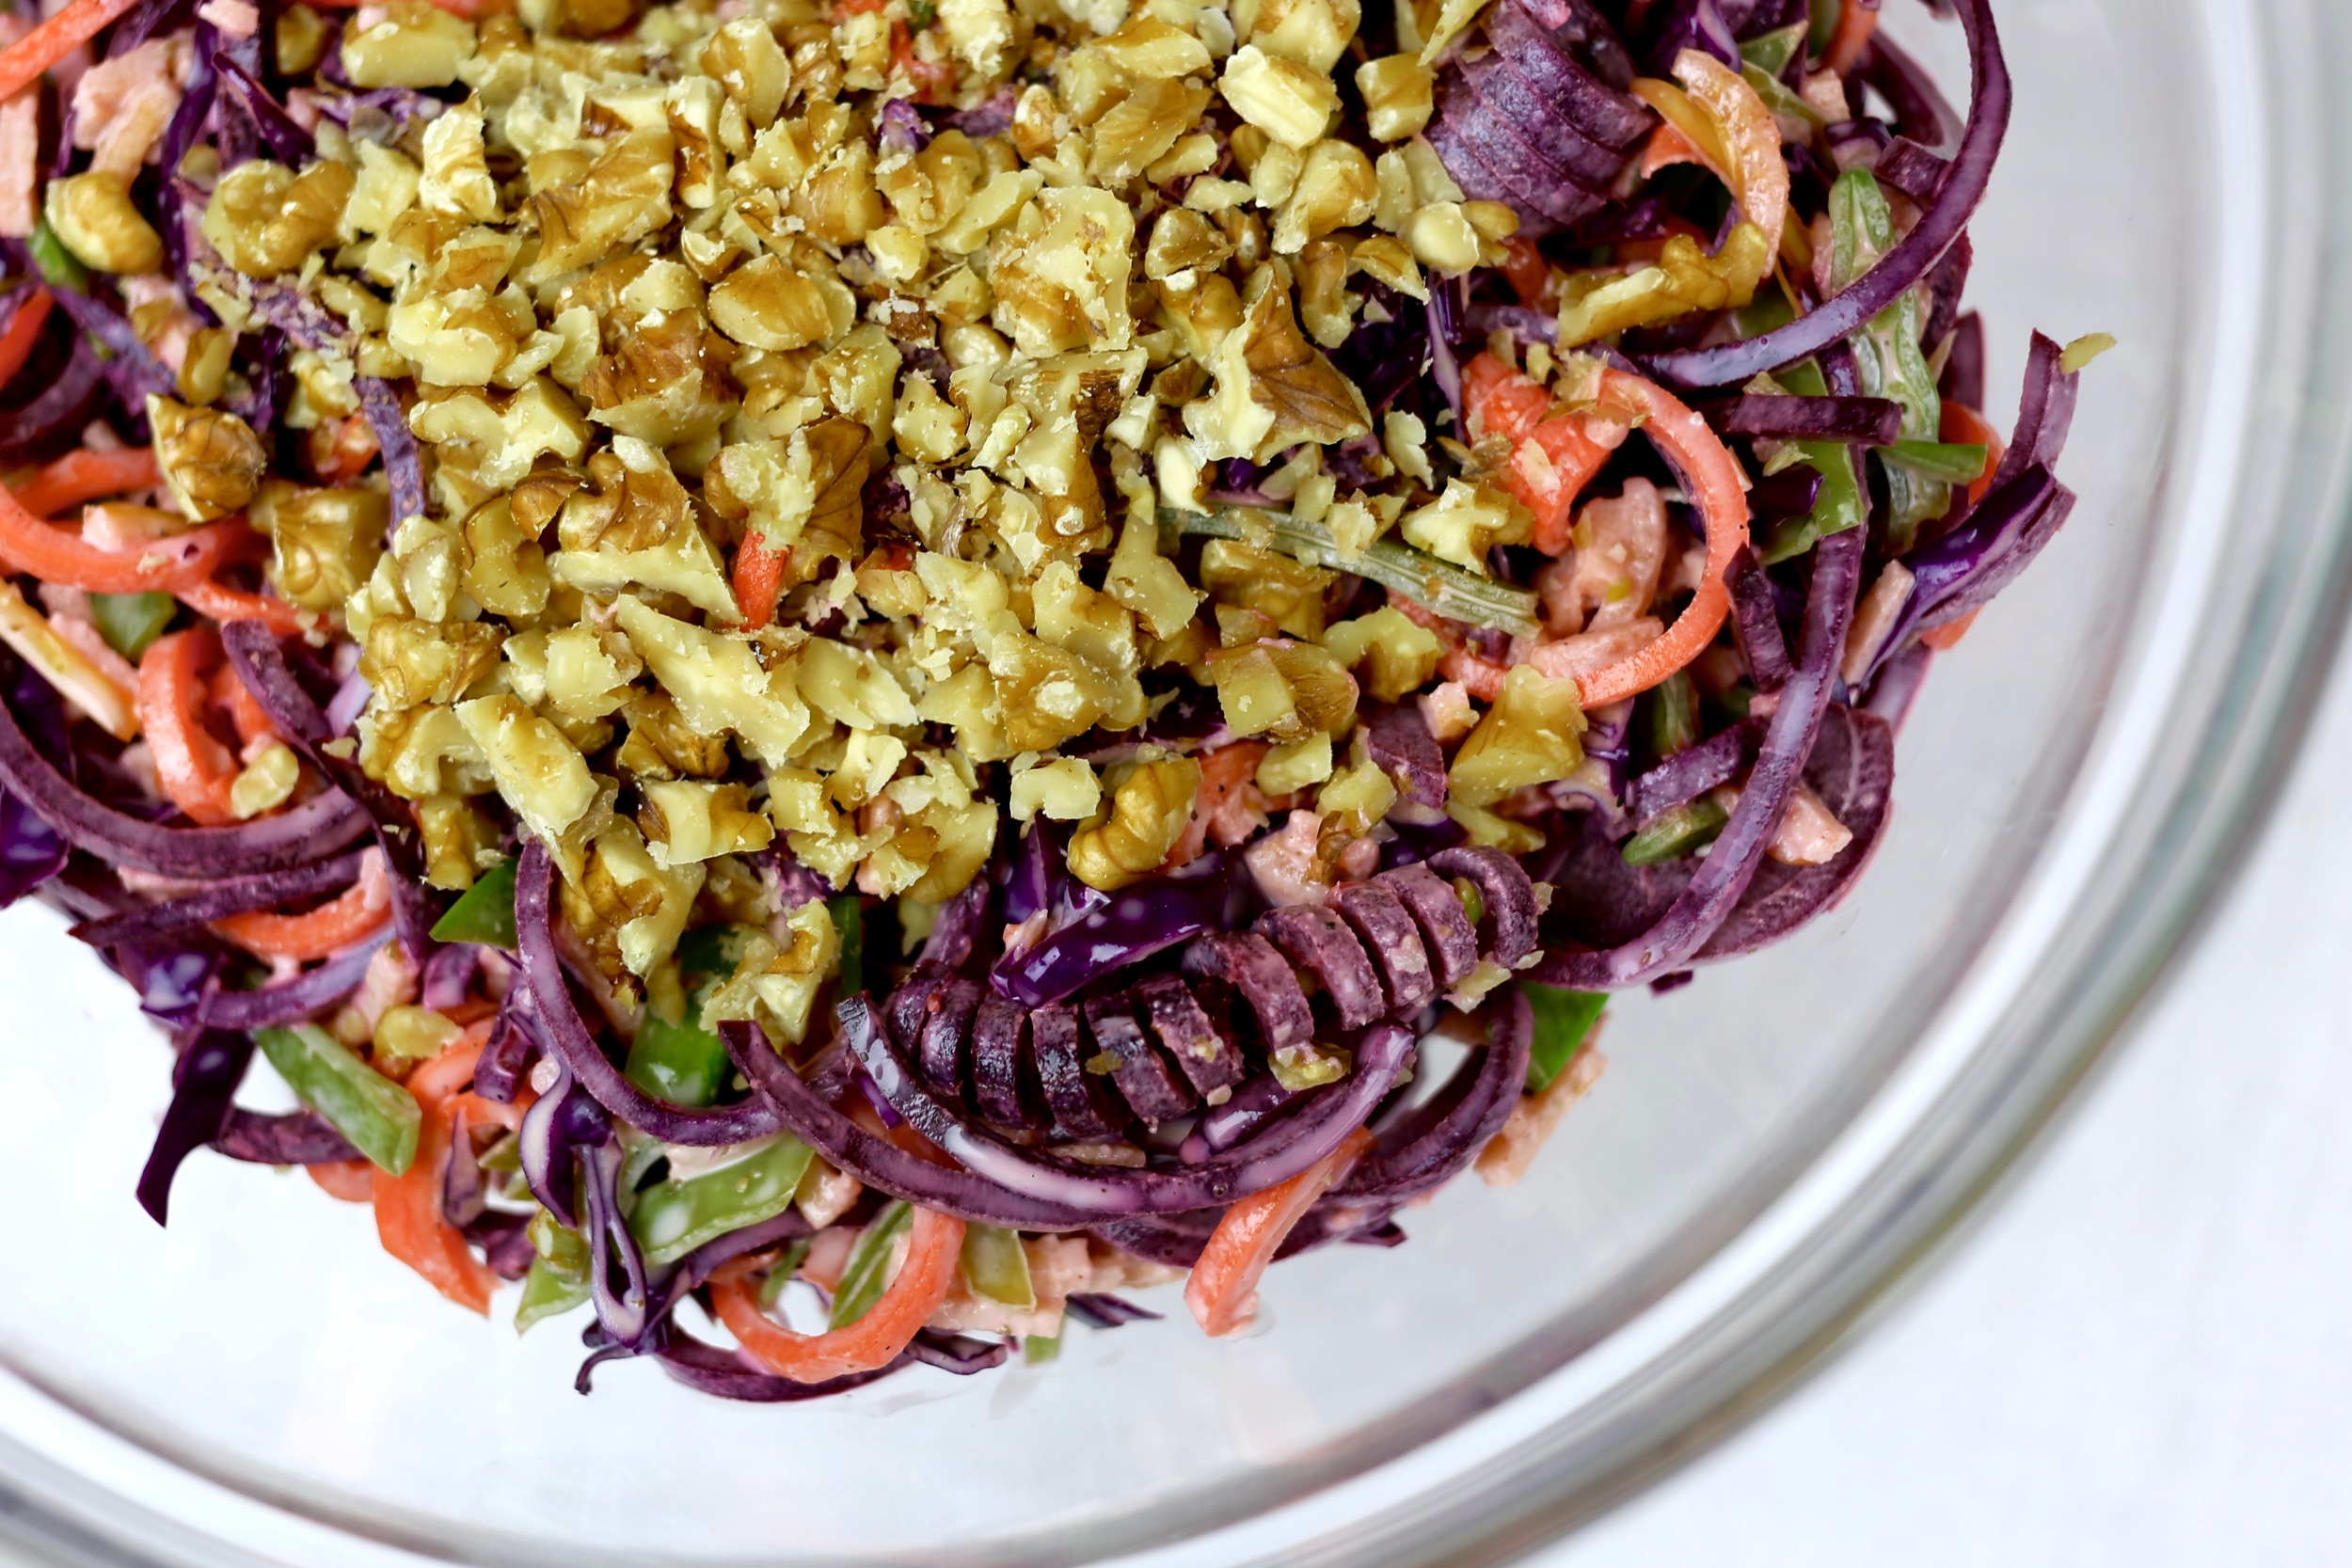
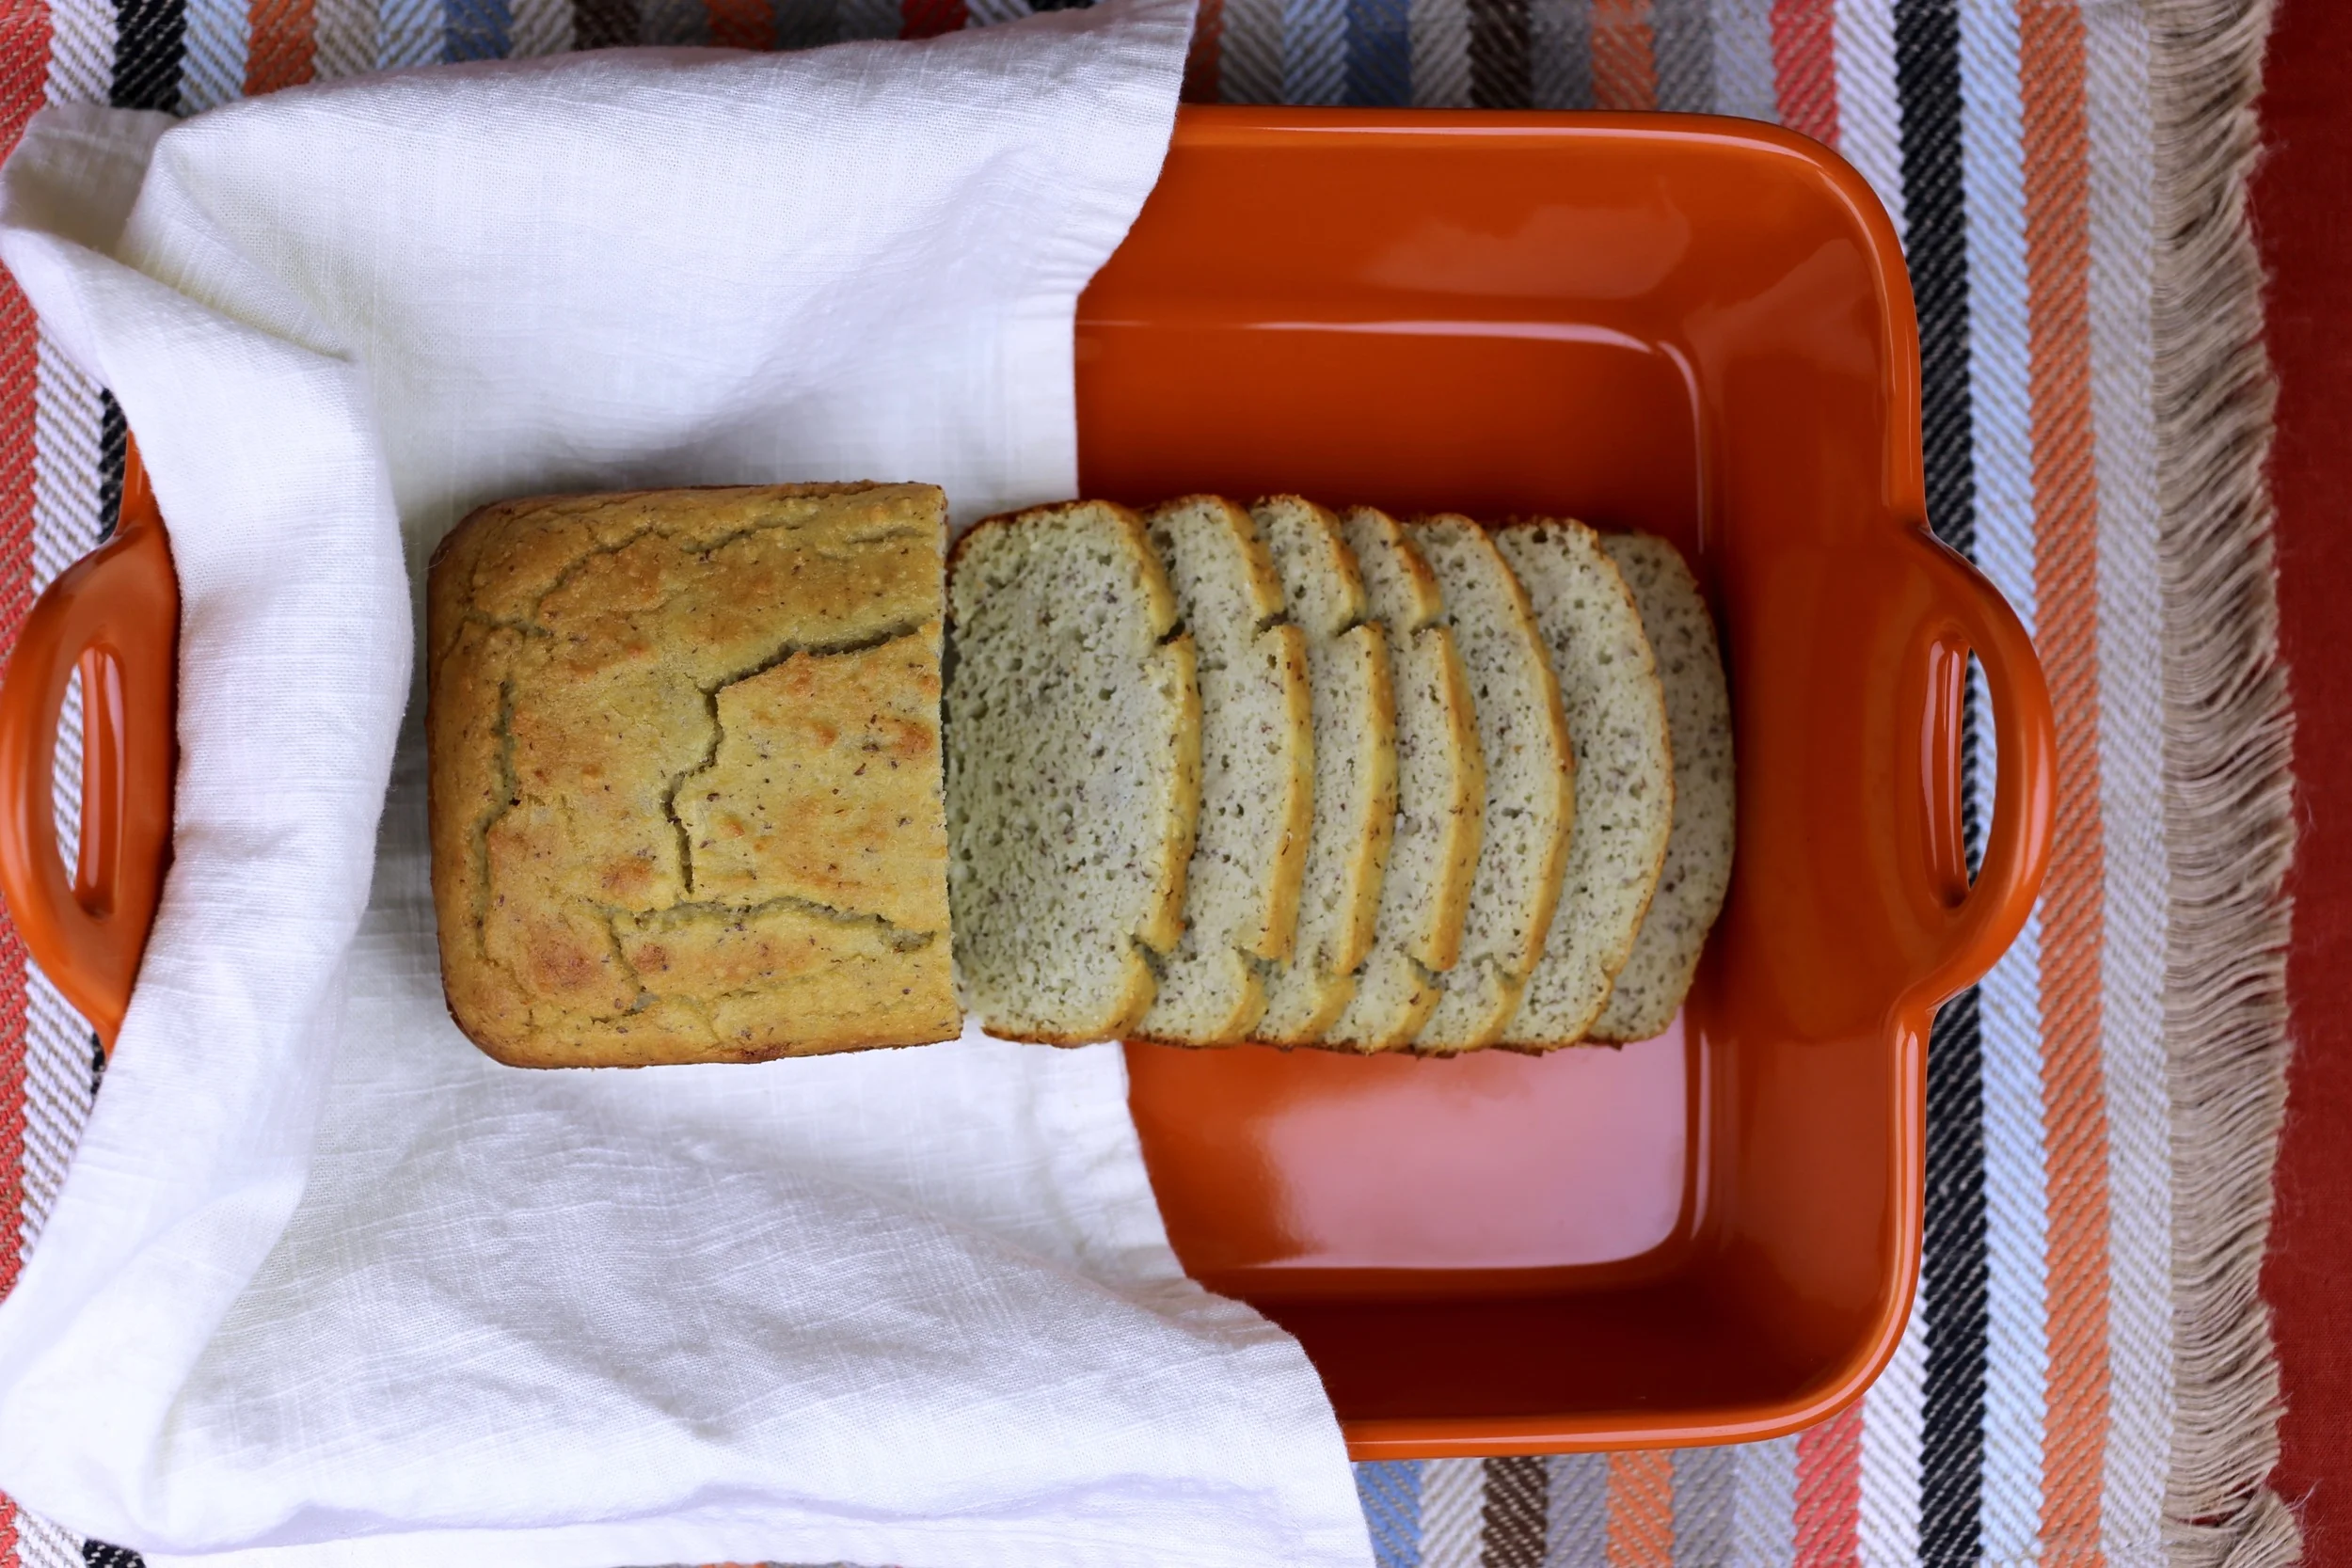
I love these guys. They're the result of trial (and trial and trial) and error and more trial. I wanted to come up with something that was low-carb, strong enough to hold the contents of a burrito (although I still use a fork most times because they can get messy), and didn't taste too coconutty to be savory. And this is it! I use them for burritos, soft tacos, quesadillas, and their flavor is even delicate enough to be used as a crepe!

* Don't be dismayed if they're not perfectly round! I've made them so many times and they never look quite "perfect." But that's okay, delicious imperfection is charming.

YIELD 8 medium wraps

INGREDIENTS

        4 eggs, beaten

        1/2 cup full-fat canned coconut milk

        1/2 cup water

        3 tablespoons tapioca flour

        1 tablespoon coconut flour

        1/4 teaspoon salt

        * Nonstick cooking spray

        * Large, thin spatula

INSTRUCTIONS

    1.    Stir tapioca flour into water and whisk together with coconut milk and eggs

    2.    Continue whisking as you add in your coconut flour and salt (allow to sit for a few minutes so the coconut flour can soak up some of the moisture)

    3.    Heat your skillet on med/low, making sure it's completely heated before you start

    4.    Spray pan with non-stick coconut oil, and pour 1/4 cup of batter into the pan - I like pouring the batter in the center and then filling in around the edges to round it out (make sure it doesn't get too big - the smaller they are, the easier to work with)

    5.    Let it cook for a minute or two, testing the edge when it looks ready to flip

    6.    Slide your spatula under the center of the wrap and flip - allow to cook for another minute or two, and it's done!

NOTES

- After pouring batter onto the skillet, you can use your spatula to help spread it or rein in runaway edges. Don't worry if it's wonky, it'll still be tasty and do the job.

- These are hearty little wraps, but when you're just learning to make them, it may help to use a second spatula to work the wrap onto the first one for the first flip.

* Normally I use Kelapo Extra Virgin Coconut Oil Cooking Spray on my skillet because it's soy-free, but with these wraps you've got to use something nonsticky-er. So because this is one of the few sources of soy in our diets, and it's such a small amount, I figure the pros outweigh the cons and I just use it. If you figure out another way to do this successfully, do share!

Creamy Ranch Dressing

IMG_4530.JPG

There's nothing not to love about this dressing. It's so good. My husband is a ranch-lover and he heartily approves. Plus I use a preservative-free, unsweetened mayo from Trader Joe's, so I know every single ingredient that goes into this. I hope you try it and enjoy!

YIELD About 1 1/4 cups

INGREDIENTS

        1 cup full-fat canned coconut milk

        3 tablespoons mayonnaise

        1/2 tablespoon minced garlic

        1 tablespoon apple cider vinegar

        3/4 teaspoon salt

        1/4 teaspoon black pepper

        1 tablespoon finely chopped green onions

INSTRUCTIONS

    1.    Finely chop the green onions and thoroughly combine with the rest of the ingredients

    2.    Store in the refrigerator for about a week